ต่อยอดมาจาก EP4 ที่เราแยกโค้ดที่ใช้ซ้ำๆกันออกมาเป็น component
นอกจากเรื่องเอามา reuse ได้แล้ว การดึงโค้ดออกมาเป็นส่วนๆ ยังช่วยให้เราจัดการโค้ดได้ง่ายขึ้นด้วย
Entry นี้มีอะไรบ้าง
Requirements
- ใช้ Jekyll Blog Theme Cayman แต่จริงๆใช้ theme อื่นก็ได้ เพราะนี่เป็นแค่ไกด์ในการแยกหน้า default ออกเป็นส่วนๆ
แยกหน้าออกมาเป็น component
เคยอธิบายไว้ใน EP3 ว่า Gem-based theme จะดูไฟล์ที่โปรเจ็คของเราก่อน ถ้าไม่มีถึงจะไปหาไฟล์นั้นใน theme repository
ดังนั้นถ้าเราต้องการจะแก้ไขโค้ด html ที่มากับ theme เราต้องสร้างไฟล์ใหม่ในโปรเจ็คของเราด้วยชื่อเดียวกัน เสมือนเขียนทับไฟล์ของ theme นั้น (หรือที่เรียกว่า Overriding)
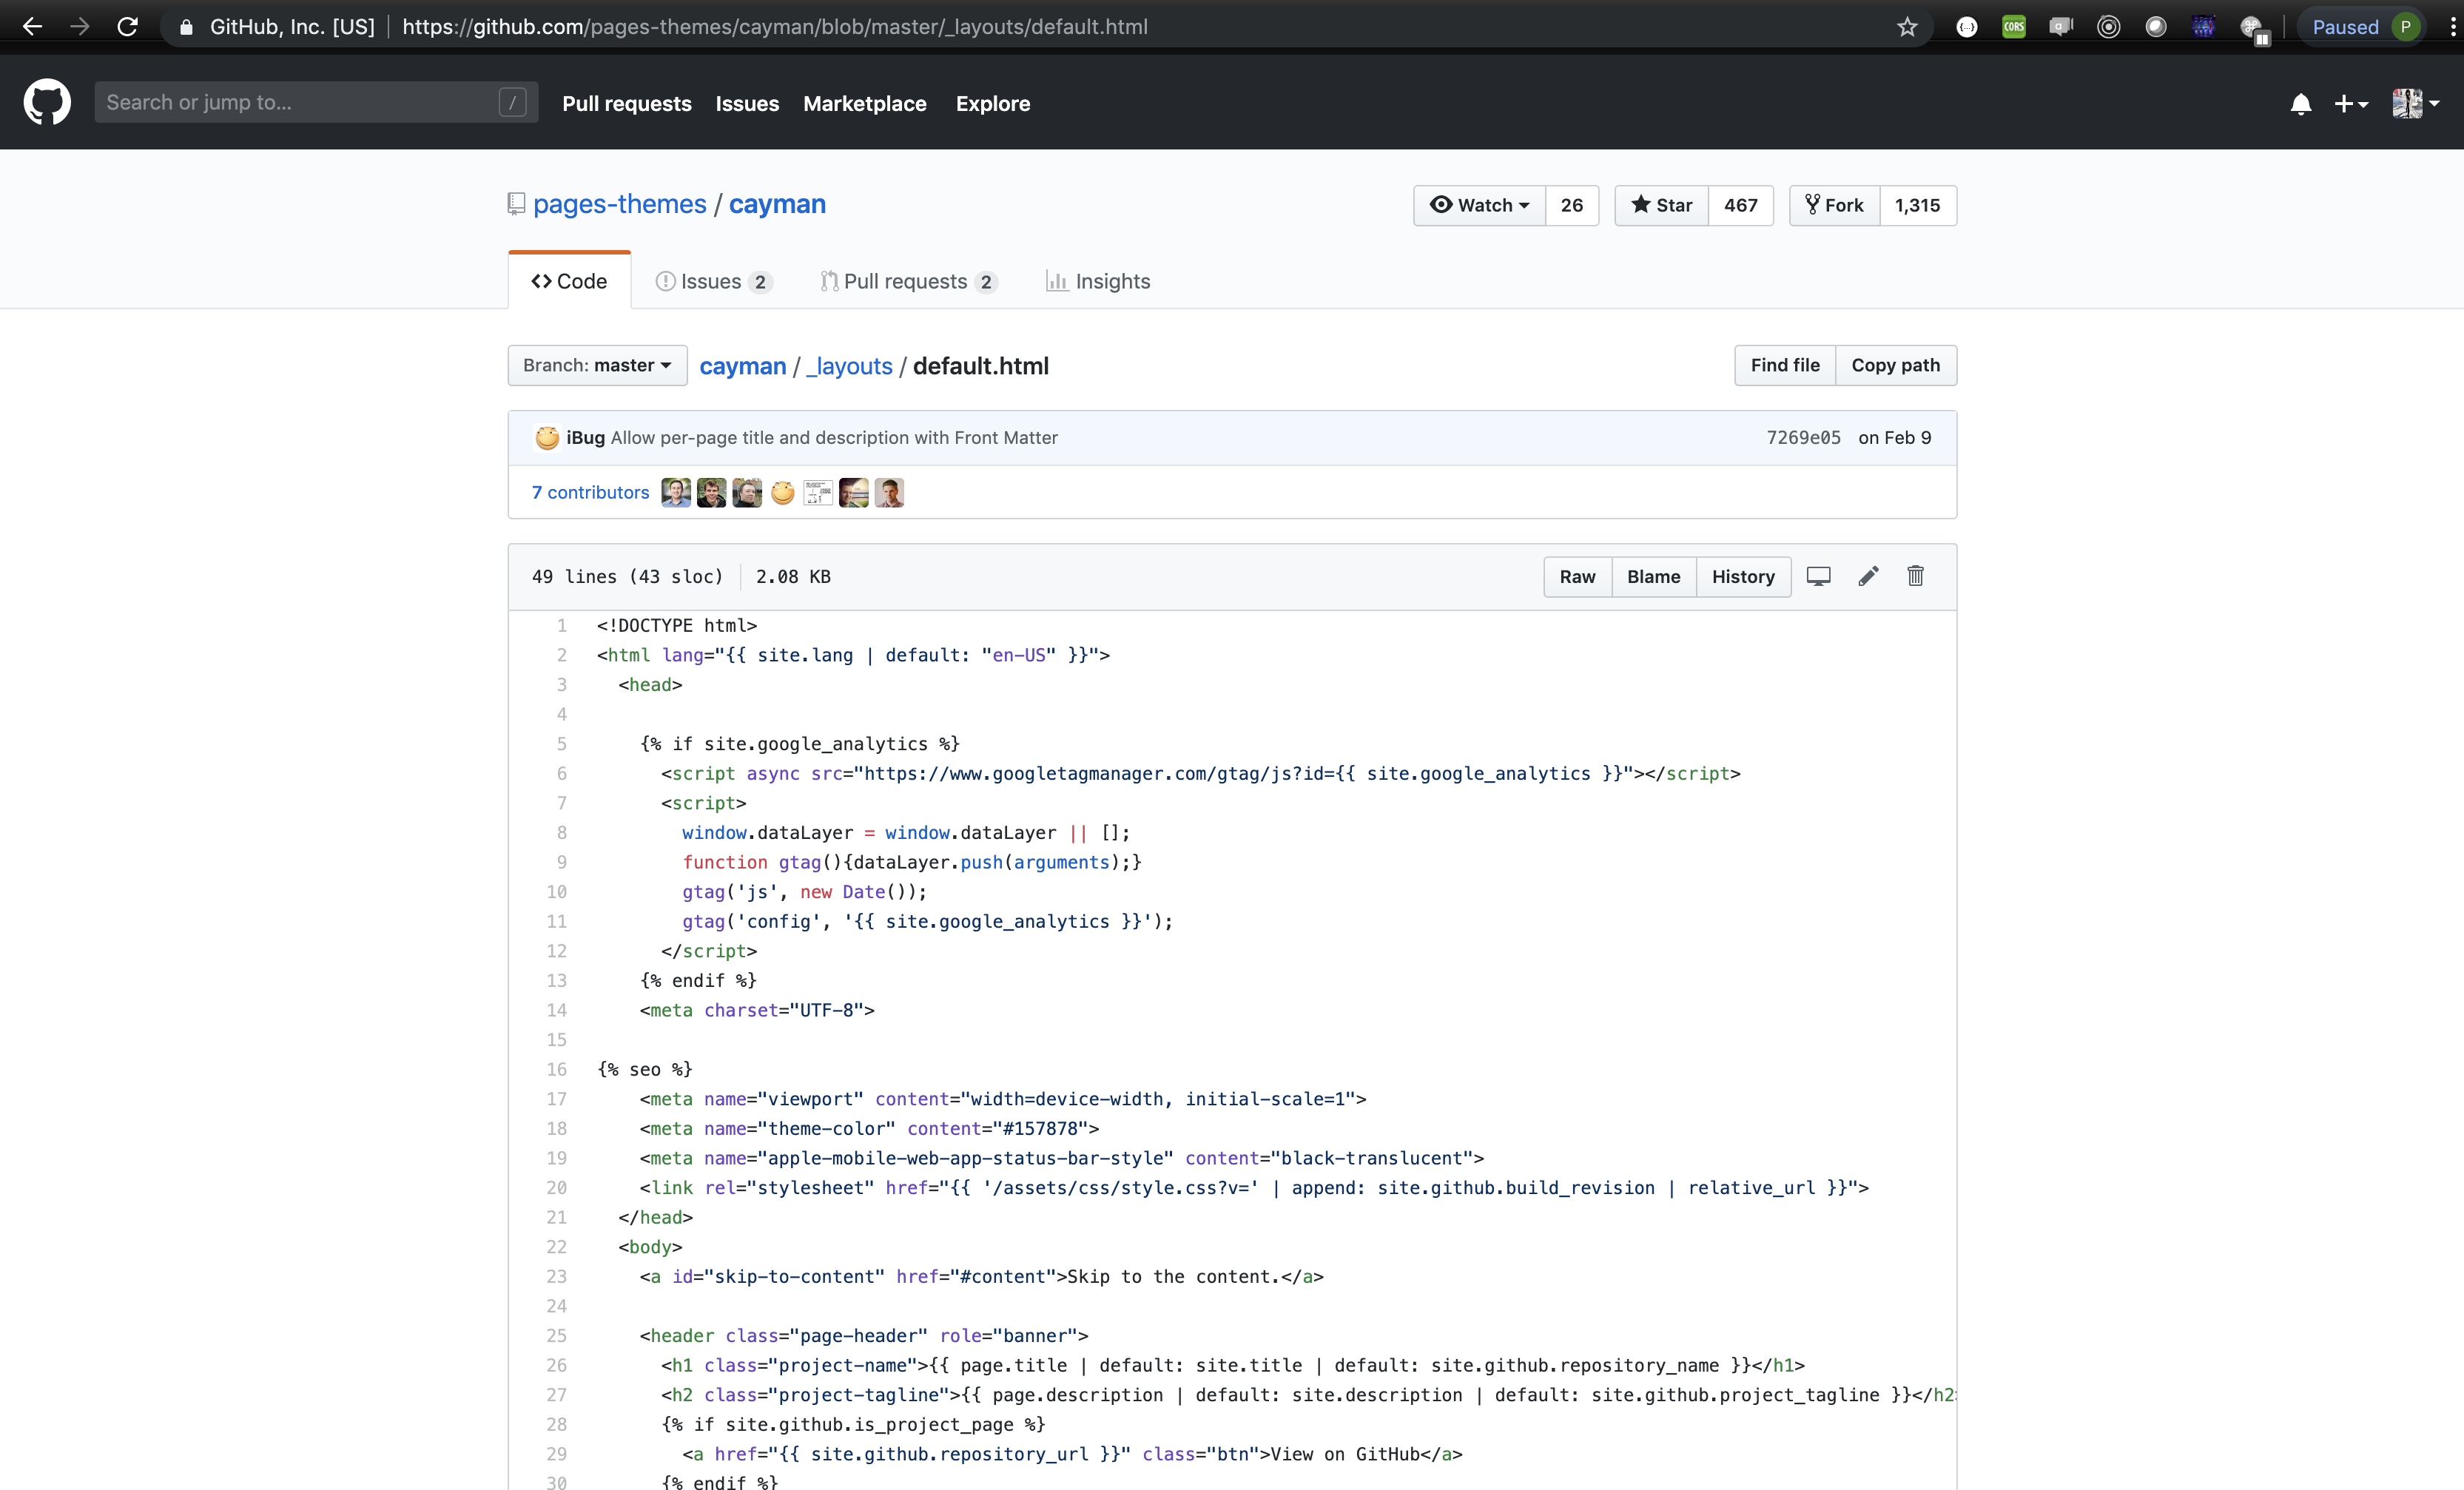
ขั้นตอนแรกของเรา คือไปก๊อบไฟล์ default.html มาจาก Cayman theme repository กันเลย!
โดยไฟล์นั้นอยู่ที่ _layouts/default.html
เข้าไปในนี้ https://github.com/pages-themes/cayman/blob/master/_layouts/default.html แล้วก๊อบมาทั้งดุ้น
เปิดโปรเจ็คเราขึ้นมา สร้างไฟล์ใหม่ชื่อ default.html เอาไว้ในโฟลเดอร์ _layouts
~/blog/
|   _config.yml
|   .
|   . ไฟล์ต่างๆ
|   .
|
└─── _posts/
|
└─── _layouts/
    |   default.html    <<<<< สร้างไฟล์นี้ แล้วเอาที่ copy มาแปะในไฟล์
เราจะได้ไฟล์แบบนี้
<!DOCTYPE html>
<html lang="{{ site.lang | default: "en-US" }}">
  <head>

    {% if site.google_analytics %}
      <script async src="https://www.googletagmanager.com/gtag/js?id={{ site.google_analytics }}"></script>
      <script>
        window.dataLayer = window.dataLayer || [];
        function gtag(){dataLayer.push(arguments);}
        gtag('js', new Date());
        gtag('config', '{{ site.google_analytics }}');
      </script>
    {% endif %}
    <meta charset="UTF-8">

{% seo %}
    <meta name="viewport" content="width=device-width, initial-scale=1">
    <meta name="theme-color" content="#157878">
    <meta name="apple-mobile-web-app-status-bar-style" content="black-translucent">
    <link rel="stylesheet" href="{{ '/assets/css/style.css?v=' | append: site.github.build_revision | relative_url }}">
  </head>
  <body>

    <header class="page-header" role="banner">
      <h1 class="project-name">{{ page.title | default: site.title | default: site.github.repository_name }}</h1>
      <h2 class="project-tagline">{{ page.description | default: site.description | default: site.github.project_tagline }}</h2>
      {% if site.github.is_project_page %}
        <a href="{{ site.github.repository_url }}" class="btn">View on GitHub</a>
      {% endif %}
      {% if site.show_downloads %}
        <a href="{{ site.github.zip_url }}" class="btn">Download .zip</a>
        <a href="{{ site.github.tar_url }}" class="btn">Download .tar.gz</a>
      {% endif %}
    </header>

    <main id="content" class="main-content" role="main">
      {{ content }}

      <footer class="site-footer">
        {% if site.github.is_project_page %}
          <span class="site-footer-owner"><a href="{{ site.github.repository_url }}">{{ site.github.repository_name }}</a> is maintained by <a href="{{ site.github.owner_url }}">{{ site.github.owner_name }}</a>.</span>
        {% endif %}
        <span class="site-footer-credits">This page was generated by <a href="https://pages.github.com">GitHub Pages</a>.</span>
      </footer>
    </main>
  </body>
</html>
เอาล่ะ มาเริ่มหั่นกัน
ด้วยความที่มันเป็น html tag เลยพอจะดูง่ายหน่อย ส่วนตัวคิดว่าหน้านี้สามารถแยก head, header แล้วก็ footer ออกมาเป็นไฟล์ใหม่ แล้วน่าจะจัดการได้ง่ายขึ้น
อ่ะ หั่น! (หั่นแล้วเอาไฟล์เอาไปไว้ในโฟลเดอร์ _includes นะ)
เริ่มจากแยก <head> ... </head> ออกมาก่อน
<head>
  {% if site.google_analytics %}
    <script async src="https://www.googletagmanager.com/gtag/js?id={{ site.google_analytics }}"></script>
    <script>
      window.dataLayer = window.dataLayer || [];
      function gtag(){dataLayer.push(arguments);}
      gtag('js', new Date());
      gtag('config', '{{ site.google_analytics }}');
    </script>
  {% endif %}
  <meta charset="UTF-8">

{% seo %}
  <meta name="viewport" content="width=device-width, initial-scale=1">
  <meta name="theme-color" content="#157878">
  <meta name="apple-mobile-web-app-status-bar-style" content="black-translucent">
  <link rel="stylesheet" href="{{ '/assets/css/style.css?v=' | append: site.github.build_revision | relative_url }}">
</head>
ตามด้วย <header> ... </header>
<header class="page-header" role="banner">
  <h1 class="project-name">{{ page.title | default: site.title | default: site.github.repository_name }}</h1>
    <h2 class="project-tagline">{{ page.description | default: site.description | default: site.github.project_tagline }}</h2>
  {% if site.github.is_project_page %}
    <a href="{{ site.github.repository_url }}" class="btn">View on GitHub</a>
  {% endif %}
  {% if site.show_downloads %}
    <a href="{{ site.github.zip_url }}" class="btn">Download .zip</a>
    <a href="{{ site.github.tar_url }}" class="btn">Download .tar.gz</a>
  {% endif %}
</header>
แล้วก็ <footer> ... </footer>
<footer class="site-footer">
    {% if site.github.is_project_page %}
      <span class="site-footer-owner"><a href="{{ site.github.repository_url }}">{{ site.github.repository_name }}</a> is maintained by <a href="{{ site.github.owner_url }}">{{ site.github.owner_name }}</a>.</span>
    {% endif %}
    <span class="site-footer-credits">This page was generated by <a href="https://pages.github.com">GitHub Pages</a>.</span>
</footer>
default.html ใช้ liquid tag {% include file-name.html %} ในการ include file ที่แยกออกไปเข้ามา ก็จะเหลือแค่นี้
<!DOCTYPE html>
<html lang="{{ site.lang | default: "en-US" }}">
  <!-- เอาไฟล์ head.html เข้ามา -->
  {% include head.html %}
  <body>

    <!-- เอาไฟล์ header.html เข้ามา -->
    {% include header.html %}

    <main id="content" class="main-content" role="main">
        {{ content }}

        <!-- เอาไฟล์ footer.html เข้ามา -->
        {% include footer.html %}
    </main>
  </body>
</html>
ด้านในโปรเจ็คจะมีลักษณะประมาณนี้
~/blog/
|   _config.yml
|   .
|   . ไฟล์ต่างๆ
|   .
|
└─── _posts/
|
└─── _layouts/
|   |   default.html
|
└─── _includes/
    |   head.html      <<<<< ไฟล์ที่แยกออกมา
    |   header.html    <<<<< ไฟล์ที่แยกออกมา
    |   footer.html    <<<<< ไฟล์ที่แยกออกมา
กด save แล้ว refresh localhost:4000 หน้าบล็อกขึ้นมาปกติ แสดงว่าเราทำการหั่นไฟล์ให้สั้นลงโดยสมบูรณ์แล้ว
หลังจากนี้ถ้าอยากแก้หรือเพิ่มอะไรในส่วนของ head ก็เปิดไฟล์ head.html
ถ้าอยากแก้ header ก็แก้ header.html
ถ้าอยากแก้ footer ก็ไปแตะ footer.html
อ่านเพิ่มเกี่ยวกับการหั่นโค้ด จิ้ม
แก้ Footer
พอหั่นโค้ดออกไปแล้ว จะแก้อะไรก็ง่ายแล้วทีนี้ อยากให้เริ่มง่ายๆ ที่การแก้ Footer ดู
ตอนนี้ footer จาก default ของ Cayman เป็นแบบนี้

แต่นี่อยากให้โชว์แค่ลิ้งไป profile github ของเราก็พอ แล้วก็อยากจะลบ This page was generated by ออก เพราะไม่ชอบ
เปิดไฟล์ footer ขึ้นมา แก้โค้ดสักหน่อย
<footer class="site-footer">
    <span class="site-footer-credits"><a href="https://github.com/{{ site.github_username }}">My Github</a></span>
</footer>
กด save ก็จะเห็นว่าแถบ footer ของเราเปลี่ยนไป มีลิ้งไป github แล้ว
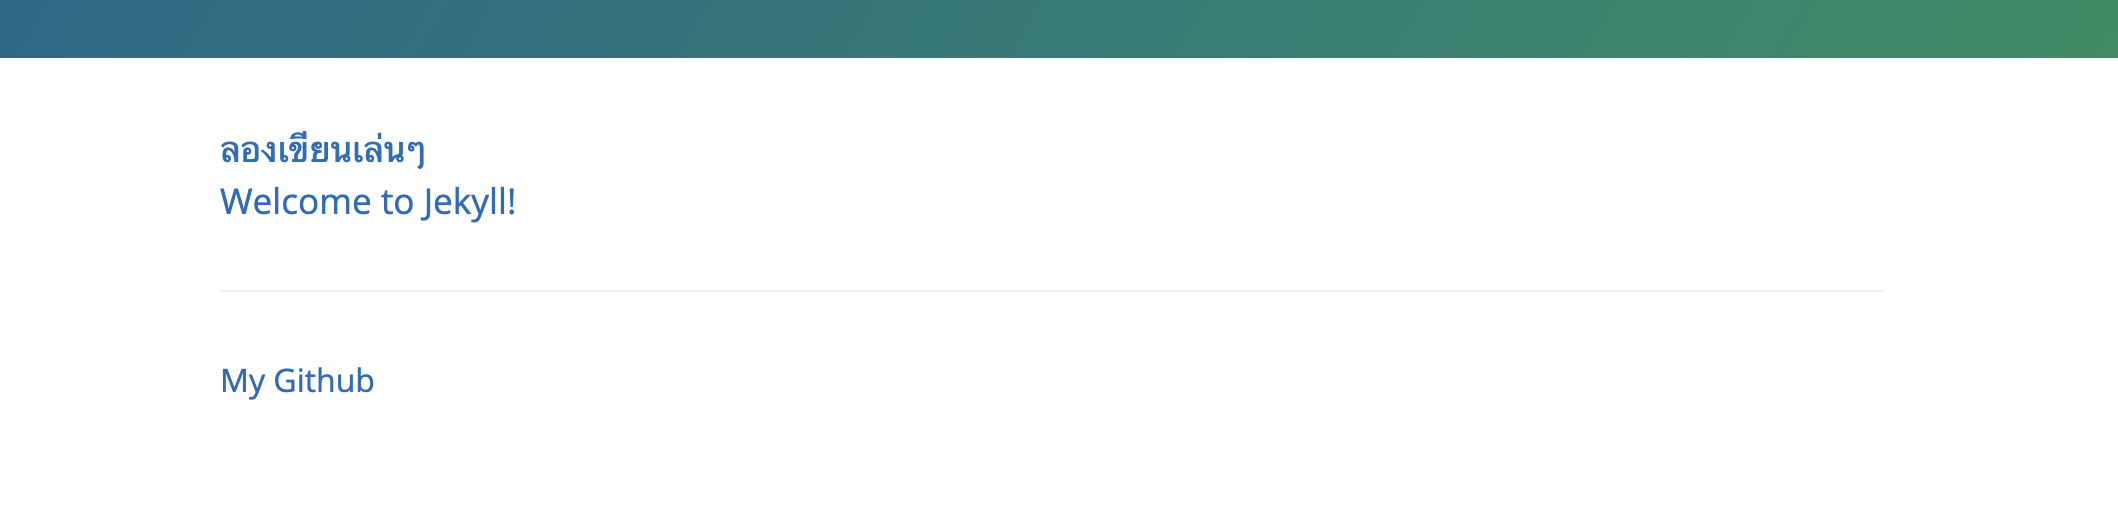
ถ้าอยากเพิ่ม style สวยๆเข้าไปก็เขียนเพิ่มตามใจชอบ
จบเท่านี้แหล่ะ การ refactor หน้า default ของ Cayman theme ในบล็อกตัวเอง เอาไว้เตรียมเอาไปทำอย่างอื่นเพิ่ม เช่น ทำ seo ใน head หรือแก้ header ของบล็อกให้เป็นแบบอื่นๆ เป็นต้น
อ่านจบแล้ว อย่าลืมเอาไปลองทำในบล็อกตัวเองด้วยล่ะ!
ไว้เจอกันใหม่ เอ็นทรี่หน้า
สวัสดีค่ะ
May the </code> be with you